

Our Epoxy Floor Installation Process
Six steps from your first call to the final walkthrough, built around getting the prep right, because that is what decides how long a floor lasts.
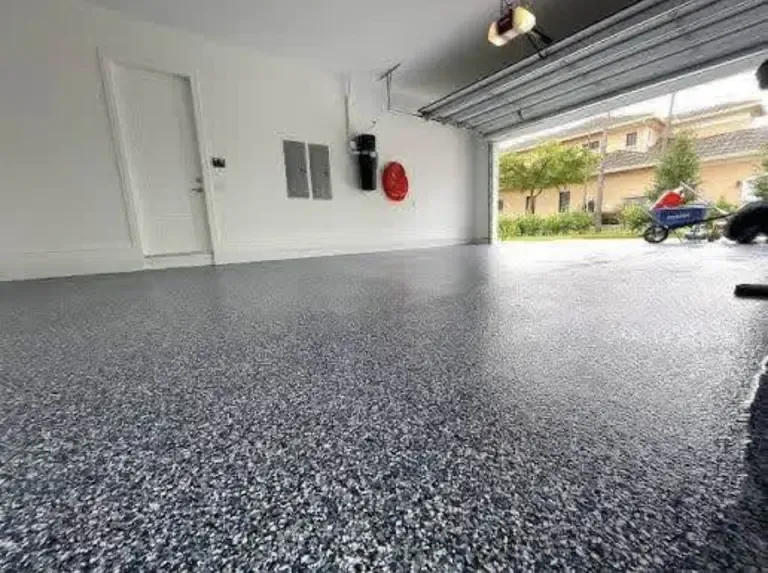
How every floor gets built
From first call to final walkthrough.
A floor is only as good as what is underneath it. Our process is built around getting the prep right.
- Free on-site estimate
We visit, measure the space and talk through how you use it and the finish you want.
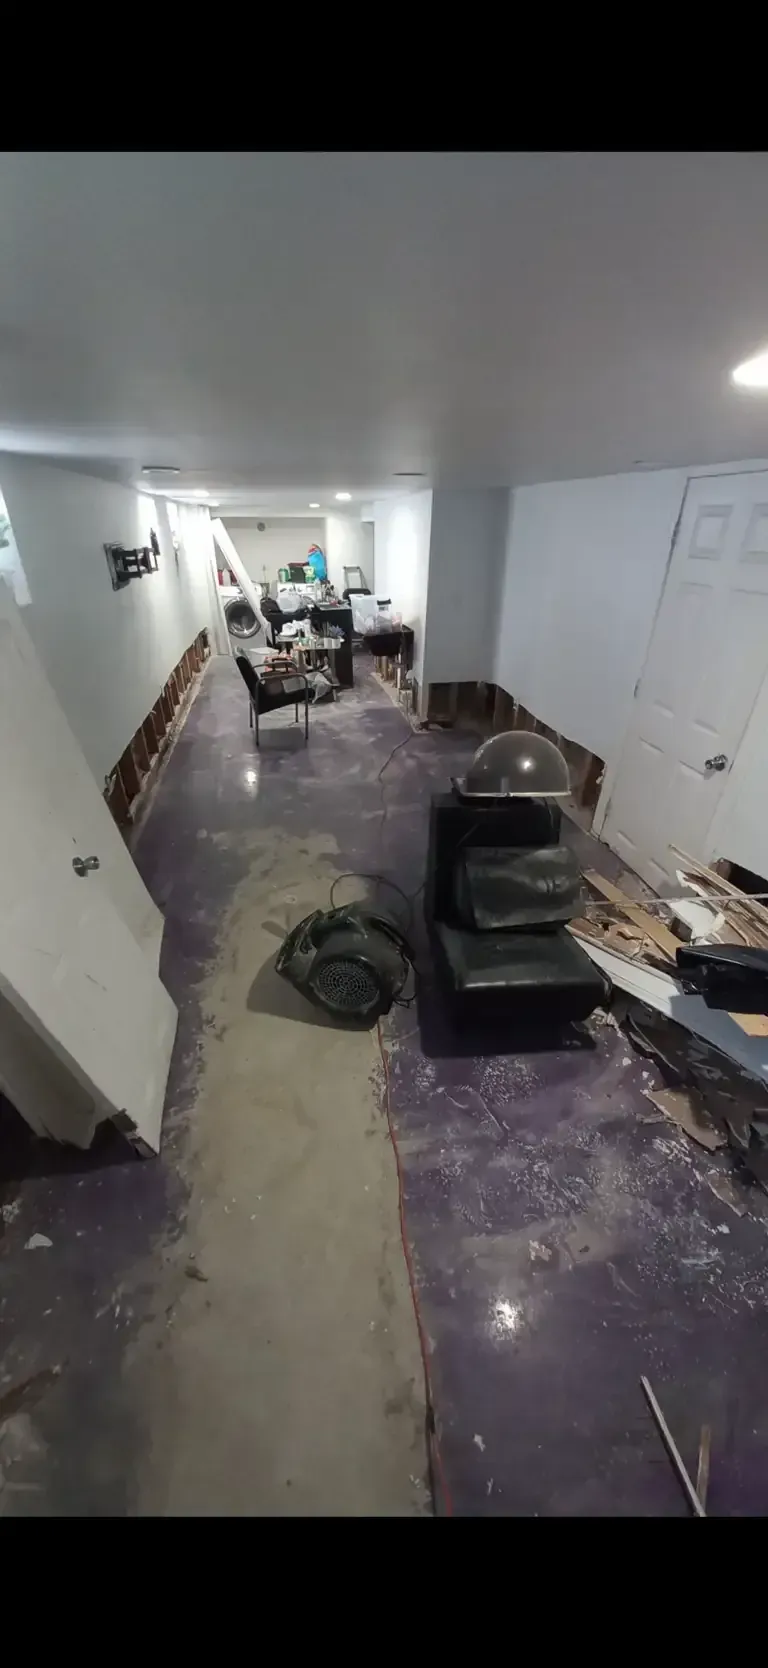
- Inspection and assessment
We evaluate the concrete for cracks, moisture, and prior coatings or sealers that need to come off first.
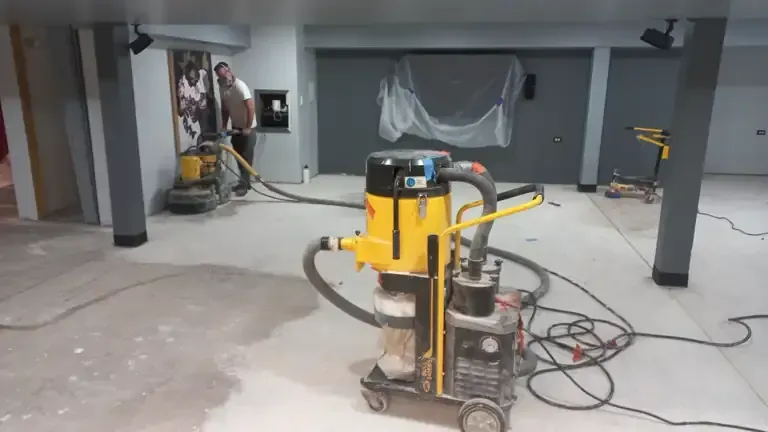
- Surface preparation
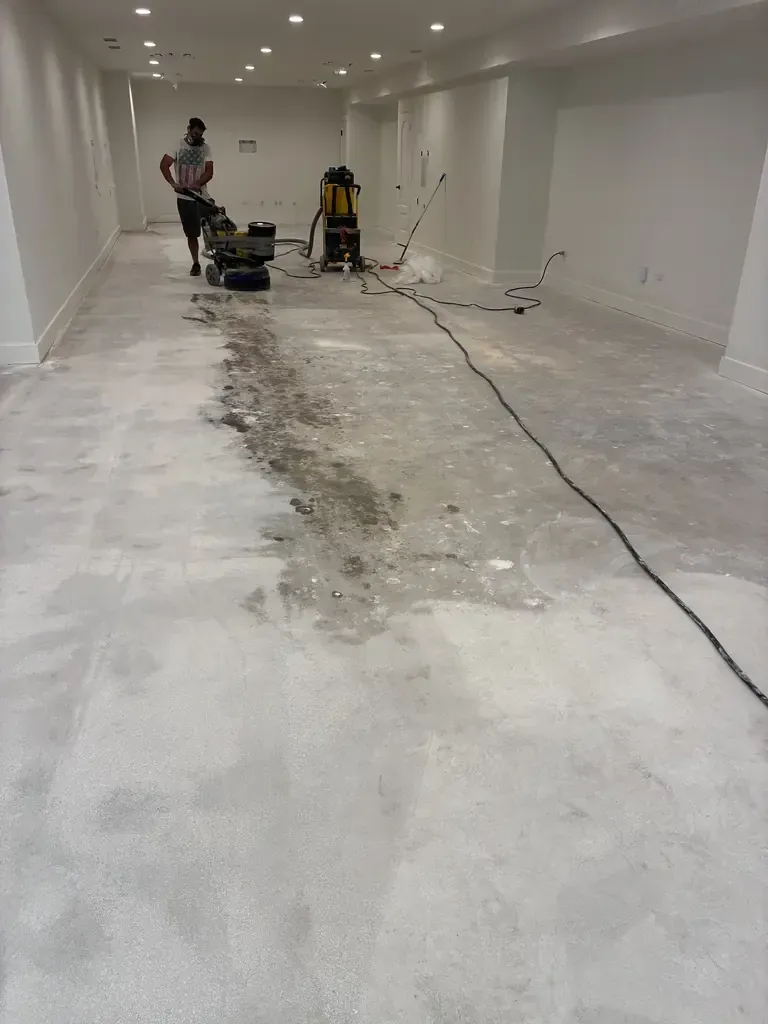
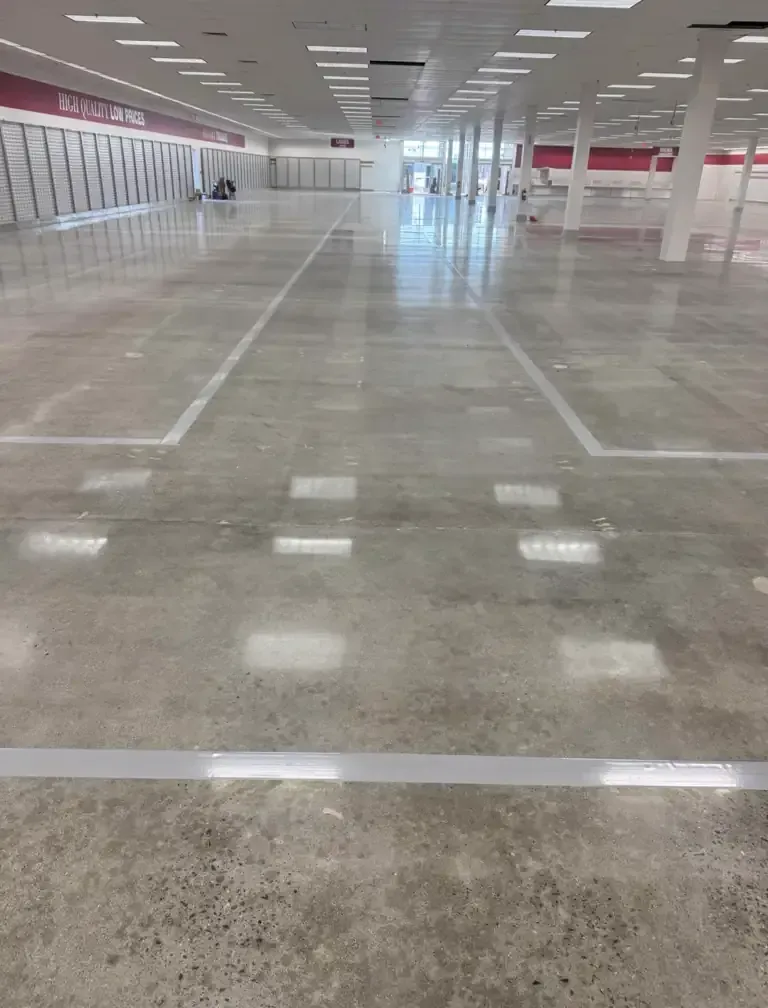
We mechanically grind and profile the concrete instead of relying on a light acid etch alone, so the epoxy has something to grip.
- Repair and priming
Cracks and pitting are filled and a primer coat is applied to lock in adhesion before color goes down.
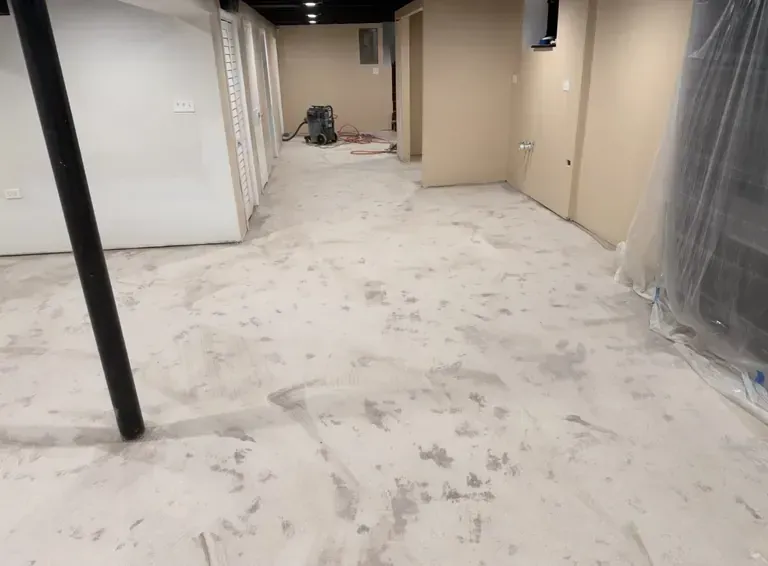
- Coating application
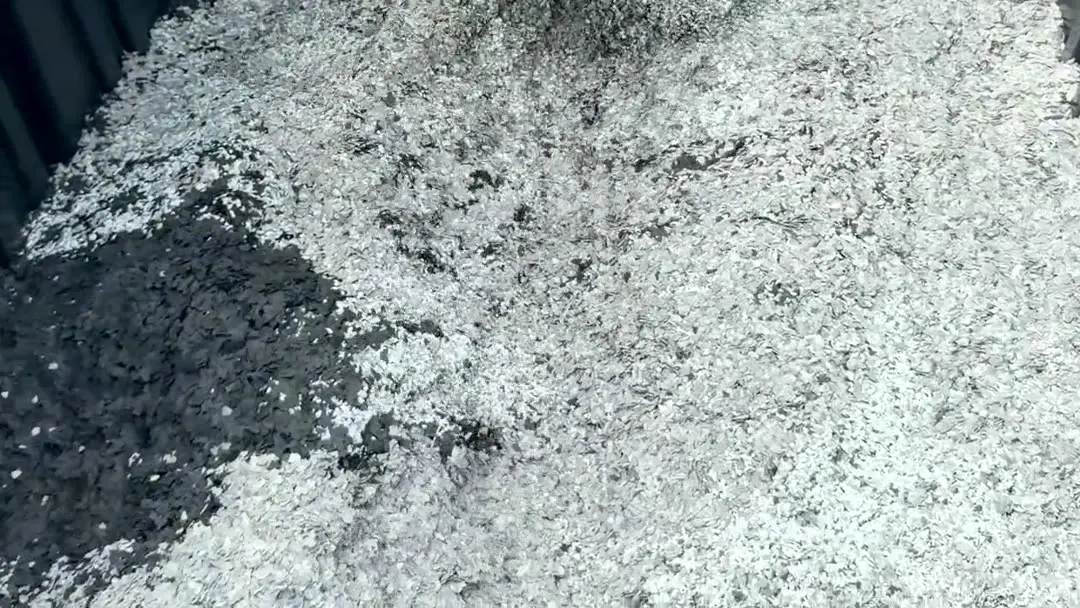
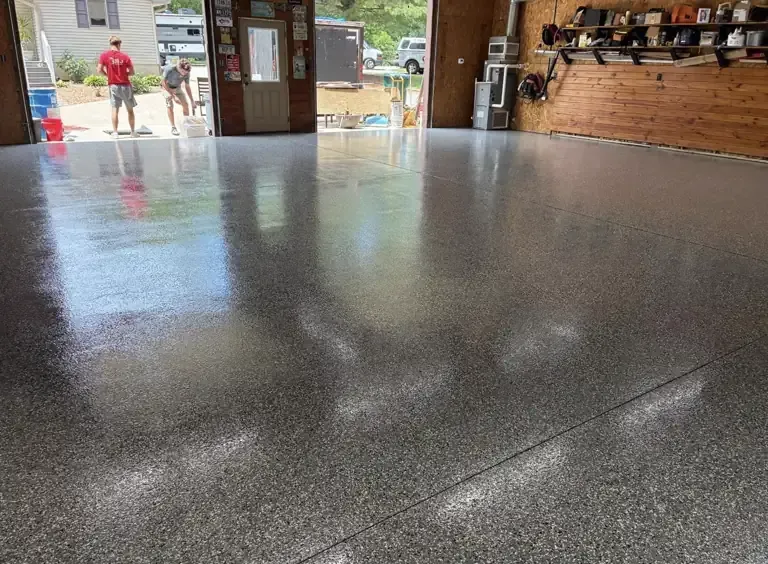
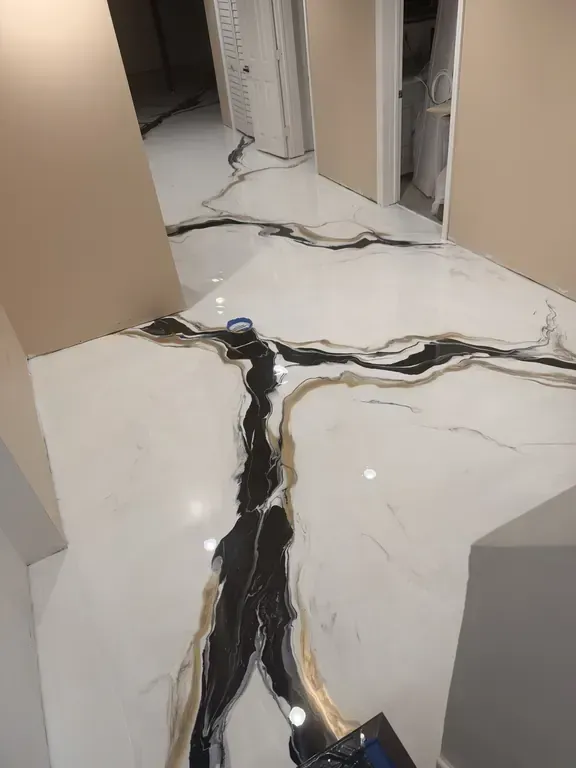
Base coat, color, flake or metallic layer, and a UV-resistant top coat, each fully cured before the next. Every garage floor gets a polyaspartic top coat.
- Cure and walkthrough
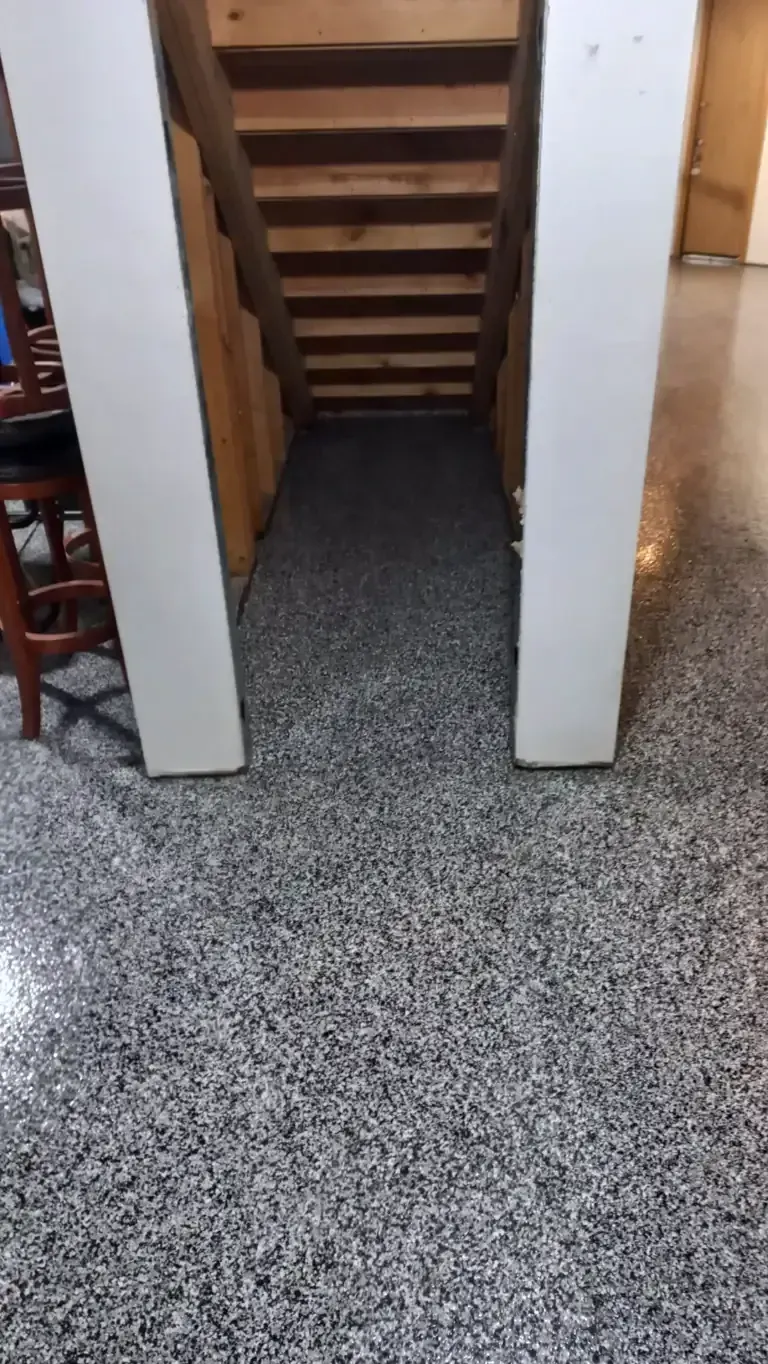
We walk the finished floor with you, confirm cure times for foot and vehicle traffic, and go over care.
What to expect
The numbers behind the work.
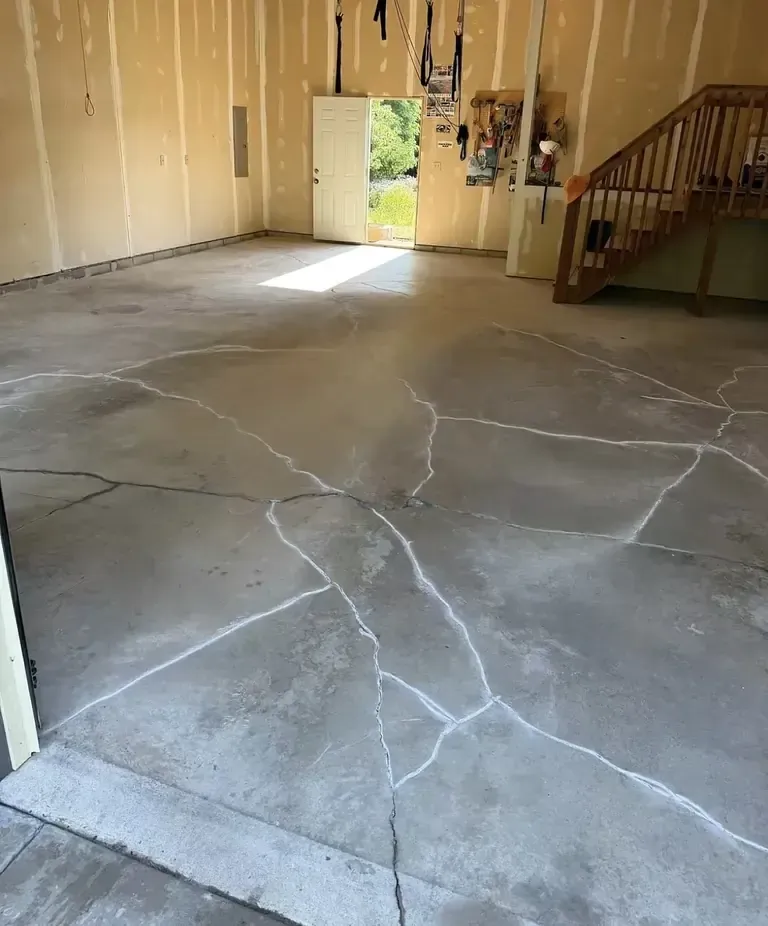
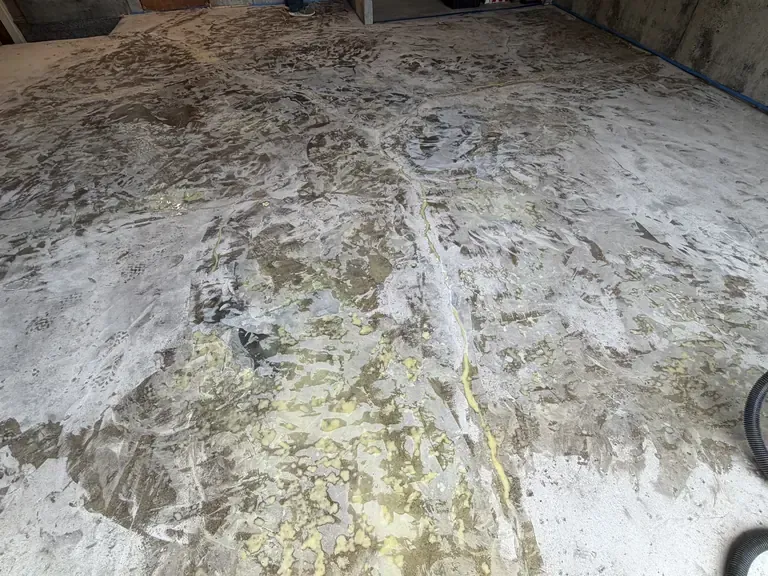
Why prep matters
Most failures are prep failures.
Most epoxy failures trace back to shortcuts in prep rather than the product itself. A store-bought kit is usually a thin coat rolled onto lightly cleaned concrete, and it often starts lifting once vehicle traffic, road salt and moisture get to it.
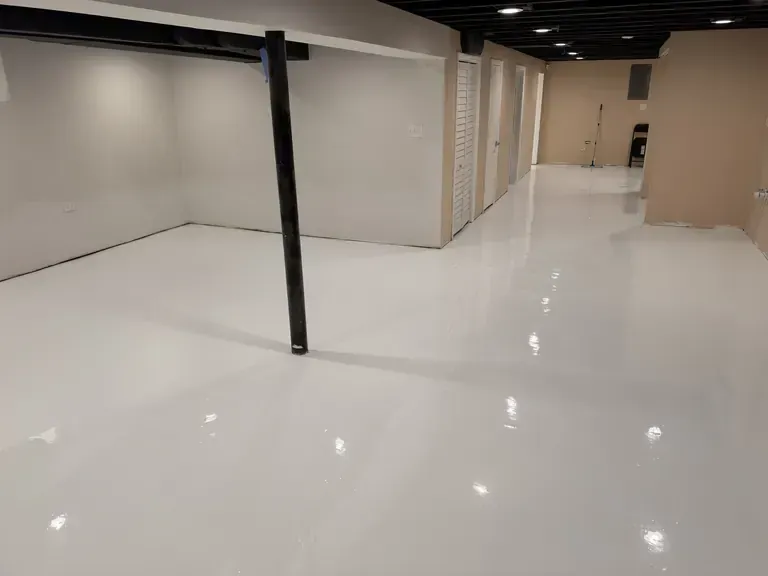
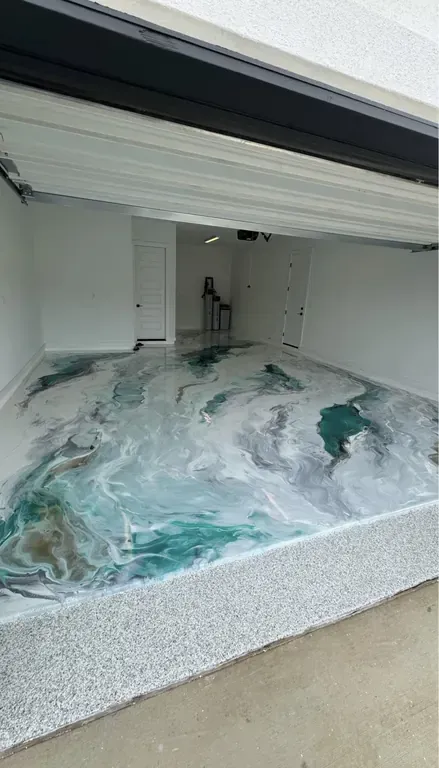
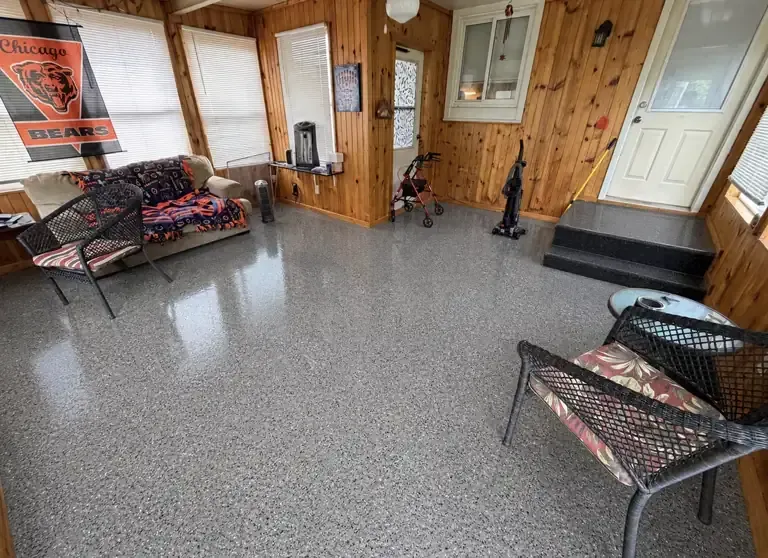
A professional floor starts with mechanical grinding and crack repair, then builds a multi-layer system: primer, base coat, your flake, metallic or solid color finish, and a UV-resistant top coat.
Related
Keep exploring.
Epoxy floor installation process
Our epoxy floor installation process, step by step
A professional epoxy floor installation follows the same steps every time: assess the slab, diamond-grind the concrete, repair cracks and pits, apply the epoxy base coat, broadcast flake or pour metallic or solid color, then seal with a UV-resistant top coat. Every garage floor gets a polyaspartic top coat.
Skipping steps is why cheap epoxy floors peel. Grinding opens the concrete so the coating can bond; testing for moisture and old sealers catches problems before they show up as bubbles or lifting.
Our process starts with a free on-site assessment. We usually reply the same day to schedule it.