

- Home
- Our Process
- Process Specs
Epoxy Floor Prep & Install Specs, Step by Step
What actually happens to your slab, in order, with the tools, grits and test standards behind each step. The short version lives on Our Process; this is the long one.
The job, at a glance.
Everything below is for a typical two-car garage flake floor. Basements, bigger rooms and metallic or polished floors follow the same order with more time; your estimate lays out your schedule.
1 At your free estimate
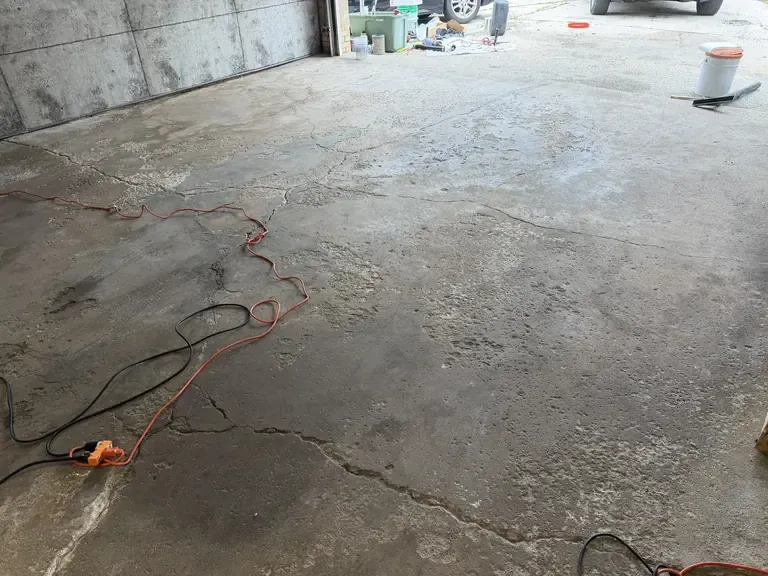
Inspect and test the slab
Nothing gets ground until we know what the concrete is hiding. This happens at the estimate visit, before you get a price.
- Measure the square footage.
- Map every crack, spall and pit, and find any old paint, sealer or oil.
- Moisture-test the slab, because moisture coming up through concrete is a leading cause of coatings lifting.
- Moisture test
- ASTM F2170 in-slab RH probes or F1869 calcium chloride
- We look for
- Cracks, spalls, old coatings and sealers, oil staining
- You get
- The right system for your slab and one upfront price
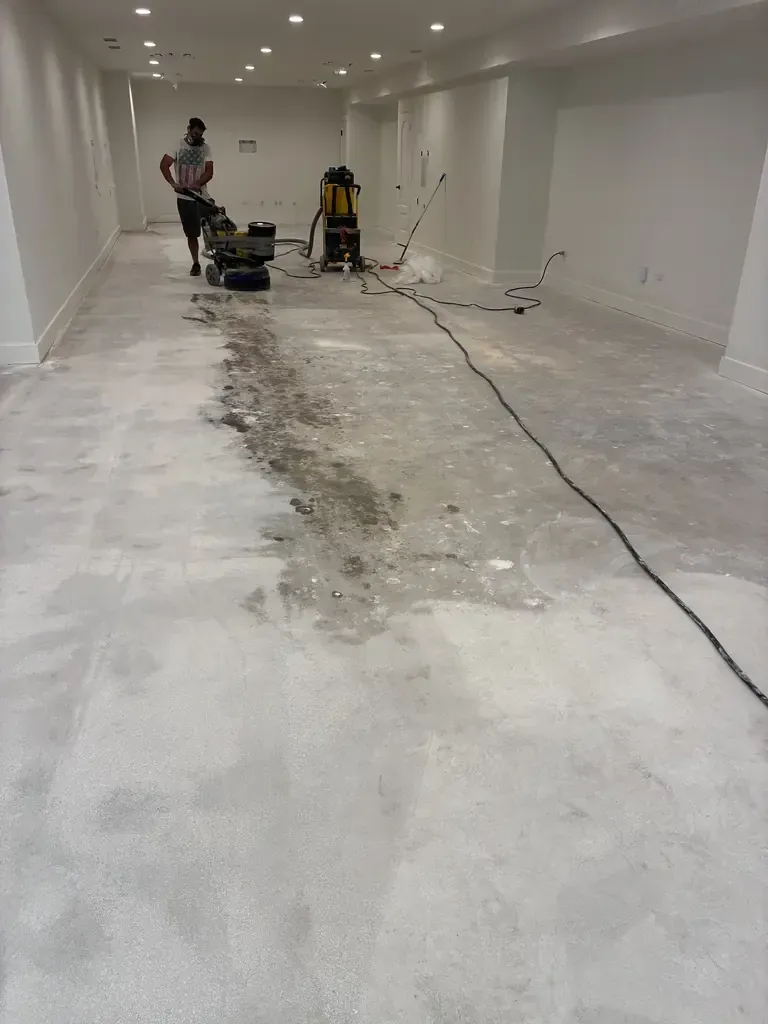
2 Day 1, morning
Grind, repair and vacuum
The coating is only as good as the concrete under it, so most of day one is prep.
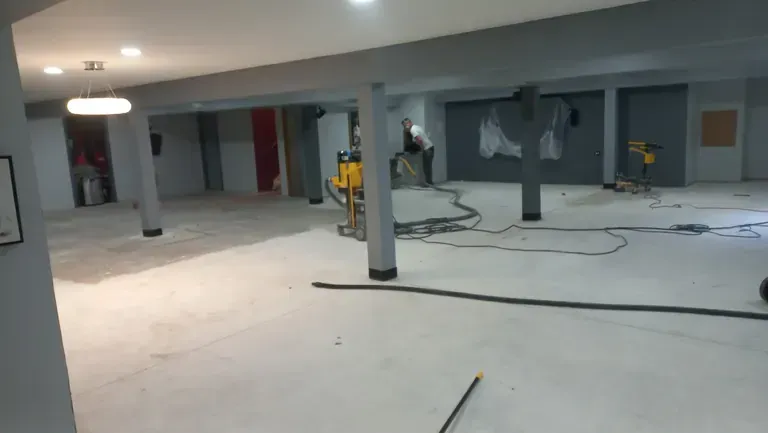
- Diamond-grind the whole slab with a planetary grinder; edges and corners by hand grinder.
- Chase cracks and spalls, fill them and grind them flush so they do not telegraph through.
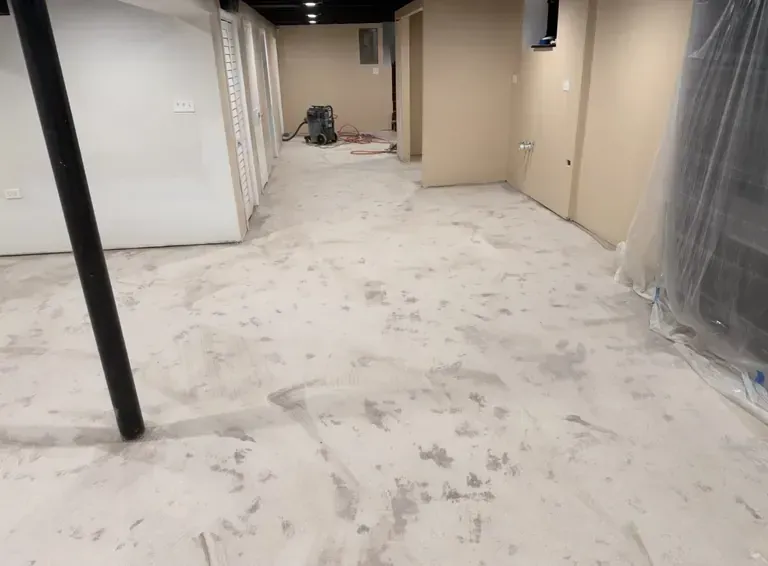
- HEPA-vacuum every square foot.
- Machine
- Planetary grinder, hand edge grinder
- Diamonds
- Metal bond, 16/30 then 30/40 grit
- Profile
- About ICRI CSP 2 to 3
- Dust
- HEPA extractor connected to every grinder
- Old coating?
- Removed first with PCDs, then ground
3 Day 1, afternoon
Base coat and full flake broadcast
Once the slab is clean and open, the system goes down in one continuous push, wall to wall.
- Mix the base coat in timed batches so every batch goes down at the right working time.
- Spread it with notched squeegees and back-roll it, wall to wall.
- Broadcast flake into the wet base coat by the handful until it will not take any more, so no base color shows.
- Base coat
- Epoxy, squeegeed and back-rolled
- Flake
- Full broadcast to refusal
- Colors
- 550+ flake blends
4 Day 2
Scrape back, then top coat
The next morning the floor is hard, rough and sharp. This is the slow step that makes it feel smooth.
- Scrape every square foot with a long-handled floor scraper to knock off loose chips and the sharp tips that stand proud.
- Vacuum it, leaving a tight, even texture.
- Roll on the top coat.
- Top coat
- UV-stable polyaspartic on every garage floor
- Why
- Gloss, no yellowing in sunlight, resists hot tires, road salt and chemicals
- Skip the scrape?
- The top coat goes on lumpy and sharp underfoot
5 Day 2 and after
Cure and walkthrough
We walk the finished floor with you and set the timeline for getting your space back.
- Walk the floor together and go over care.
- Confirm when you can walk on it and when you can park on it, for your system and the weather.
- Foot traffic
- About 24 hours on a typical residential floor
- Vehicles
- After a few days, confirmed at the walkthrough
- Care
- Floor care guide
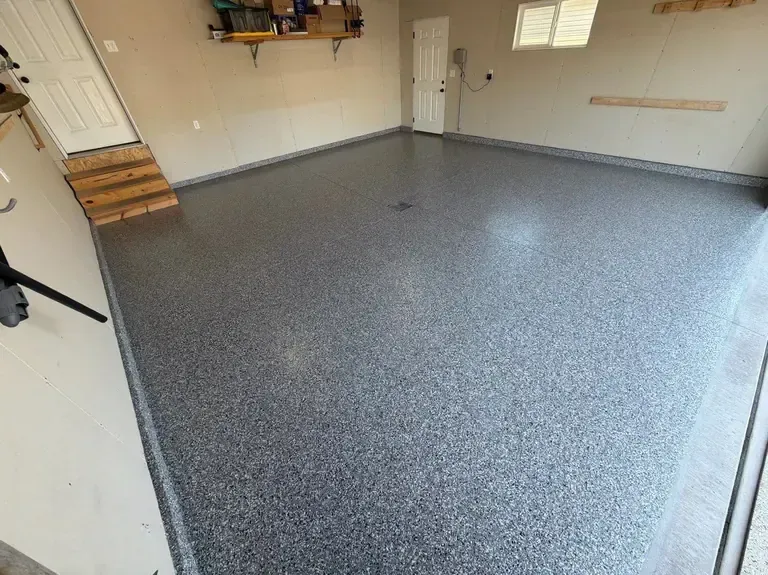
What is in the finished floor.
Top to bottom, the layers you end up standing on.
- 5 Polyaspartic top coat UV-stable wear layer: gloss, salt and chemical resistance
- 4 Full-broadcast flake Color, texture and grip; hides minor slab flaws
- 3 Epoxy base coat Bonds into the ground concrete and holds the flake
- 2 Repairs Cracks and spalls filled and ground flush
- 1 Your slab, ground to CSP 2–3 Open, clean concrete with no old coating or sealer
Other finishes, other grits.
The floor above only needs the first row. This is how the diamond sequence changes for other jobs. Grits are typical; the concrete decides the exact steps.
| Goal | Diamonds | Typical grit steps | Result |
|---|---|---|---|
| Coating prep (this page) | Metal bond | 16/30 → 30/40 | Open profile, about CSP 2–3, for epoxy and polyaspartic |
| Remove old coating | Coarse metal bond / PCD | PCD → 16/20 | Old paint, sealer, mastic and glue gone |
| Grind and seal | Metal bond, then resin | 30/40 → 80 → 150 → 200 | Clean, honed concrete under a sealer |
| Polished concrete | Metal bond, then resin | … → 400 → 800 → 1500 → 3000 | Densified, reflective, no coating |
Questions
Process questions.
Still deciding? Call or text (224) 321-2395 and talk to the people who will actually do the work.
How long does an epoxy garage floor install take?
A typical two-car garage flake floor is usually a two-day job: grinding, repairs, base coat and flake on day one, scraping and the polyaspartic top coat on day two, then cure time.
What is a concrete surface profile (CSP)?
CSP is the International Concrete Repair Institute scale for how rough a prepared slab is, from CSP 1 (nearly flat) to CSP 10. Most thin floor coatings want about CSP 2 to 3, which is what diamond grinding produces.
Why is the top coat polyaspartic?
Polyaspartic is UV-stable, so it does not yellow in sunlight, and it stands up well to hot tires, road salt and chemicals, which is why every garage floor we coat gets it.
Related